
SMSDoor Internet-Enabled Door Lock
SMSdoor was an electronic doorlock controlled by cellphone, AIM client, or web page. I constructed this hardware and software project as a prototype to secure a college server room along with my colleague Deian Stefan. The code is based on the snazzy Perl library written by Deian with some simple C code interfacing the parallel port on a Linux box. We chose to use an actuator (rather than something more mechanically complicated) and also built an emergency manual key override. The video below further details its capabilities.
Idea and Design
Construction of this project began on January 26, 2007 after about 8 months of occasionally tossing around the idea and deciding we had neither the time nor expertise to implement it. Around a week before construction commenced, we decided that it was time to finally build the project, as we had recently come into possession of an old computer well-suited to the task of a controller and a Perl script that could interface with AOL’s AIM instant messaging service. The door to the server room in our school’s computer lab proved the perfect candidate for a test bed, as it was of a wood flimsy enough to allow easy drilling yet sturdy enough to support the components we would be mounting on the inside. In addition, it was already behind another smartcard-protected door, so if our design proved to be insecure, there would be no great danger of unauthorized individuals in the server room.
The idea for this project was an electronic doorlock, utilizing as much of the door’s existing hardware as possible and allowing for multiple methods of locking and unlocking. The doorframe and door had a deadlock mounted, complete with metal plates and appropriate smooth-head screws. The server room provided easy access to power and ethernet, and the pressed-wood construction of the door allowed easy installation of the electronics and new hardware. We began by outlining the basic operations we wanted the door to be able to perform: locking and unlocking. We also decided that we wanted the door to be able to open by four means: a manual key, a web frontend, an SMS text-messaging service, and AOL instant messaging. We debated between using an embedded device such as a PIC microcontroller and a full-fledged computer, eventually deciding on the motherboard from a 300MHz Pentium II machine with 256MB of RAM and a 9.1 GB hard drive. We bought screws, mounts, a servo, and a steel bar for the mechanism itself; we also got LEDs, TIP120 darlington transistors, resistors, and NPN transistors for motor and LED control. The full parts list:
- A wooden door to mount everything on. A metal door might be possible as well, although you’d have to use standoffs on the motherboard and have proper equipment to drill metal. On the plus side, less cooling would be required.
- Motherboard with compatible power supply, processor, RAM, ethernet card (or onboard ethernet) hard drive, hard drive cable, and cooling fan and/or heatsink. The computer does not need to be powerful at all; it only needs to be able to run Linux with a text terminal.
- Ubuntu or a similar Linux distribution, available at http://www.ubuntu.com/
- The DoorServ software, soon to be published and available here.
- Hot glue gun with four to six sticks of hot glue. We managed to burn through about 7 sticks, but we had to remount several items as we worked out kinks and tweaked the design
- Several (about 6) long machine screws that fit through your door and extend at least an inch onto the other side, plus washers and nuts.
- A drill with a bit slightly larger than the screws in the previous item.
- A DC motor or a servo that can be hacked for continuous rotation, with the PCB removed
- A breadboard, or, if you want to make it more permanent, perfboard and soldering equipment
- Four TIP120 NPN darlington transistors
- Four 1k resistors, four 330-ohm resistors, and four 10k resistors
We originally planned for a set of software with multiple components. Two low-level daemons, written in C, would control inputs and outputs from the parallel port, a perl daemon would handle instant messaging and text messaging and generate signals to the two port daemons, and a PHP frontend would also interface via signals. After tossing several ideas for authentication back and forth, we settled on a colon-delimited text file on usernames, group numbers, and md5-hashed passwords.
Implementation
We began with the easy part: the computer. Christopher set up the motherboard, power supply, hard drive, and a spare CD-ROM drive and installed the latest Ubuntu Linux build on the machine. He also installed several C libs, gcc, apache2, and php5. Deian got to work on writing the C and Perl code while Christopher began to mount the components. He disconnected the CD-ROM drive, set up the sshd service, and gave it a DNS entry of automation.ee.cooper.edu. The door is right next to one of the server racks, so Christopher mounted the power supply just to the side of the hinge on the wall with hot glue, then placed the motherboard on the other side of the hinge on the door. The hard drive was mounted above it, also with hot glue, and cables were connected. Christopher soon discovered that the motherboard and hard drive were too close to the hinge for the door to close completely, so he pried both off and mounted them further inward. The downside was an remains that the power supply’s cables aren’t long enough to allow the door to open a full 90 degrees; it can only open around 75 degrees.
An ethernet card was added since the motherboard lacked an onboard RJ-45 jack and hot-glued in place in its slot to prevent it falling out from repeatitive motion, then the ethernet-power bundle leading from the door to the power supply and network switch was reinforced. Next, the servo was put into a test bed and it was determined that it might be insufficient for our needs due to its small angle of rotation, though it was soon determined it had already been modified for continuous rotation. Once connected to a function generator and an oscilloscope, we found that it would only turn in one direction, so we disassembled it, desoldered the control PCB, and soldered two leads directly to the motor terminals, leaving the internal geartrain intact for the necessary torque.
To control the motor, we build an H-bridge out of four NPN darlington power transistors, then added additional circuitry on the breadboard to control the LEDs. The parallel port is thus dealing with four outputs:
- Motor Up
- Motor Down
- UL-LR LED Diagonal Pair
- LL-UR LED Diagonal Pair
The software was never fully documented beyond the descriptions above.
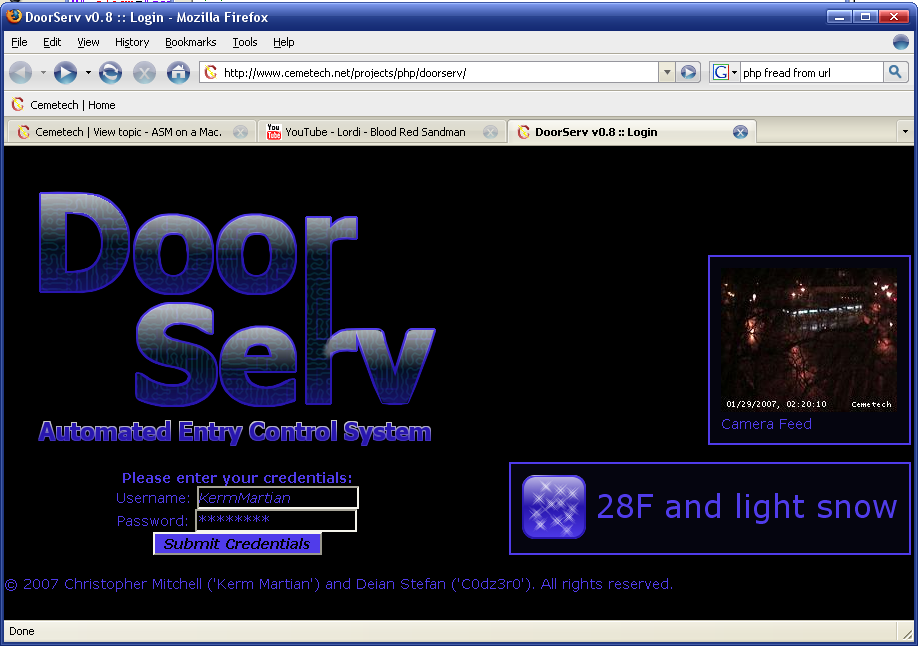 The smsdoor project was originally known as DoorServ
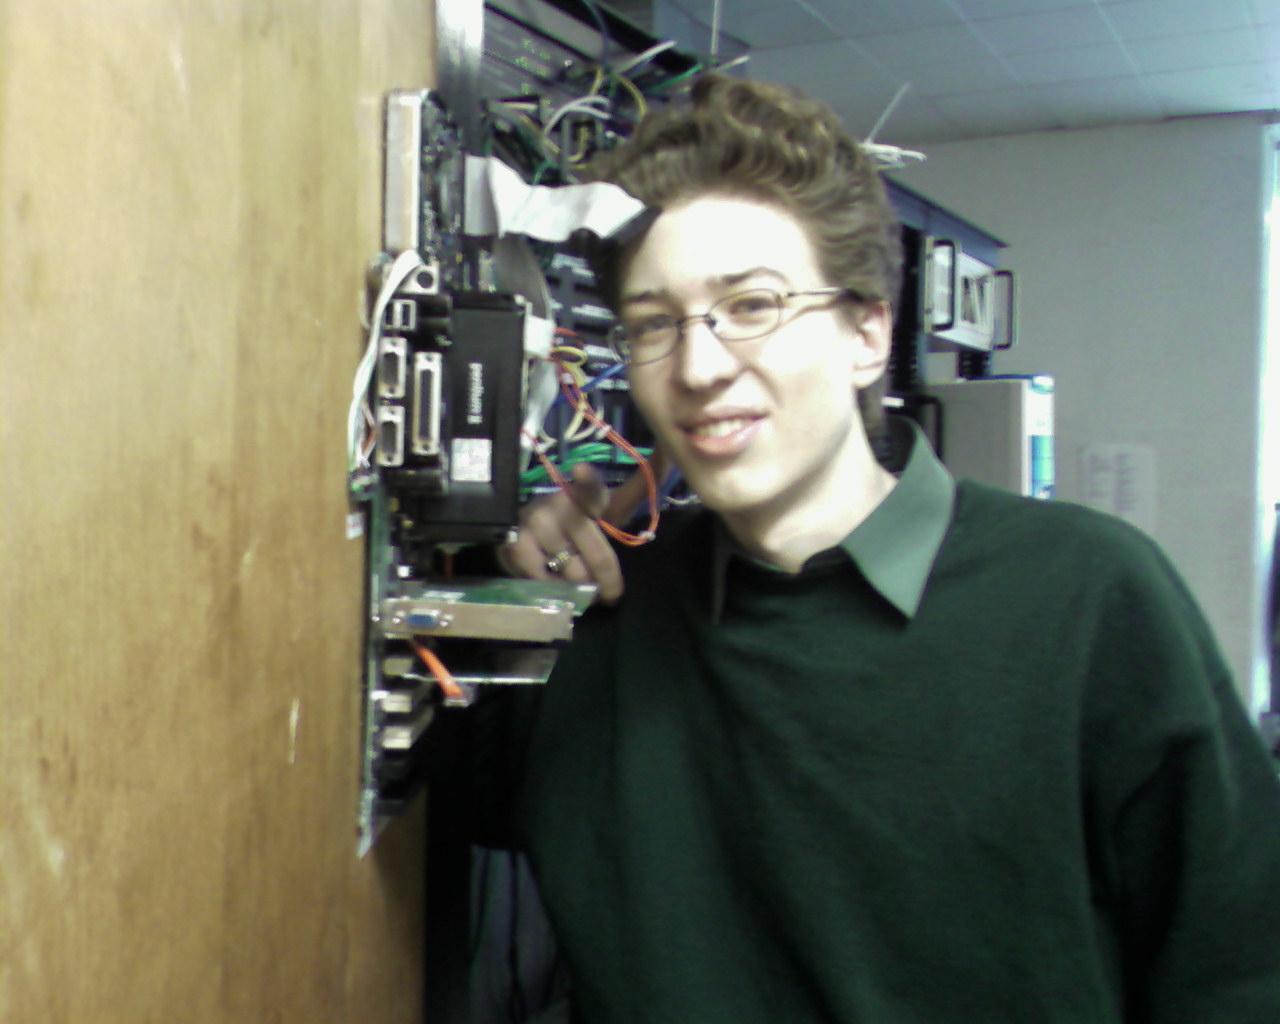 The control computer's motherboard mounted on the back of the door.